
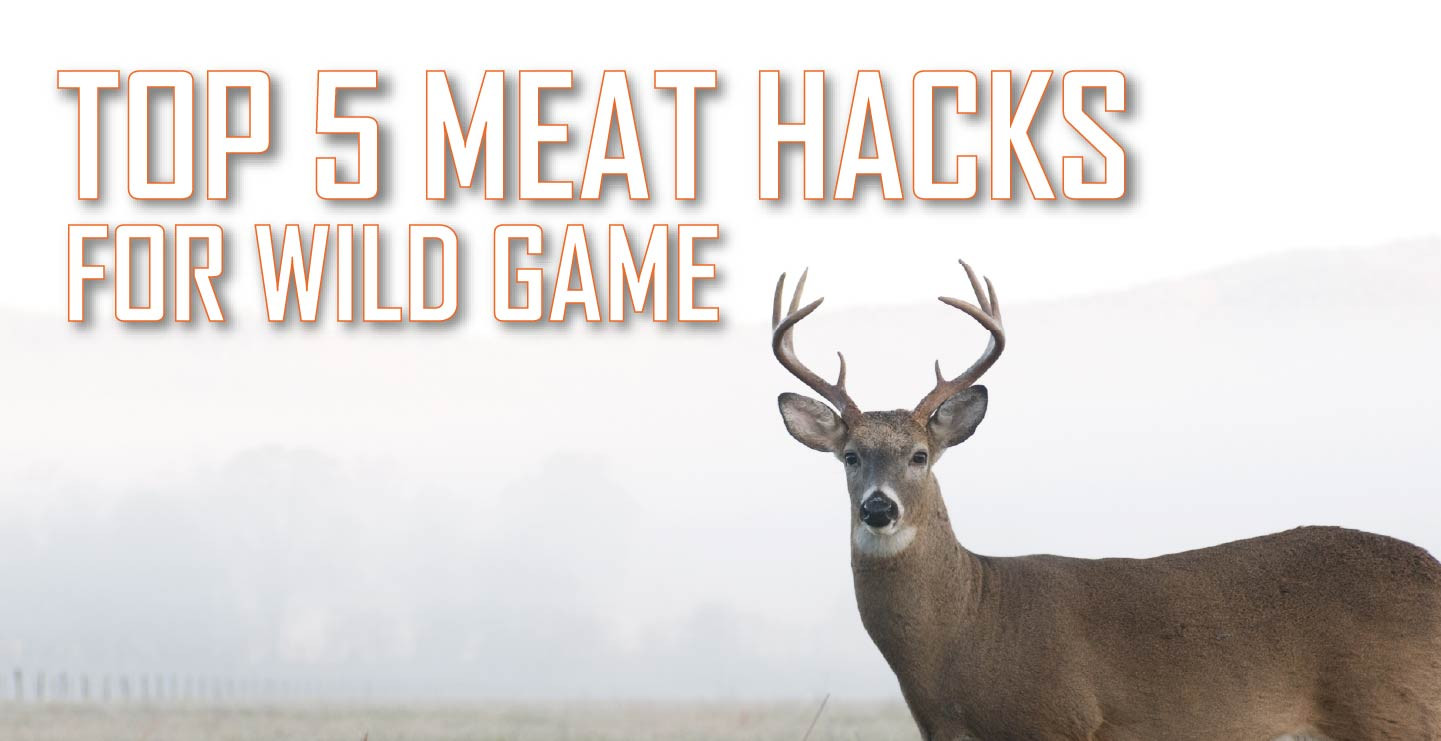
Top 5 Wild Game Meat Hacks
You've spent all the time, money and effort to harvest your Deer, Elk, or other wild game, don't fumble at the goal line and end up with subpar meat by making mistakes when processing your meat! Whether you’re grinding, stuffing, or smoking, the way you handle your meat after the hunt makes all the difference in the final flavor and texture.
To help you get the best results, we’ve put together 5 simple meat hacks that’ll take your sausage, snack sticks, and jerky to the next level. With just a few easy tweaks, you can turn your wild game into tender, flavorful, professional-quality products your family and friends will rave about.
You’ve invested time, money, and effort harvesting your deer, elk, or other wild game don’t fumble at the goal line by making mistakes during processing! Whether you’re grinding, stuffing, or smoking, the way you handle your meat after the hunt makes all the difference in flavor and texture.
To help you get the best results, we’ve put together 5 simple meat hacks that will elevate your sausages, snack sticks, and jerky. With just a few easy tweaks, you can turn your wild game into tender, flavorful, professional-quality products that your family and friends will rave about.
#5 Pork Fat is required!
Any sausage or sausage-like product made from wild game will need added fat. Without roughly 20% fat content, your sausage will be dry and less flavorful than it should be. When selecting fat to add, consider its taste, availability, color, and—most importantly—creaminess.
The clear winner is pork fat. It has very little flavor of its own, is readily available at most butcher shops, is bright white, and nothing else compares in terms of creamy texture. Pork fat melts at low temperatures, so it softens as you chew, letting you experience the flavor more intensely and for longer.
#4 Fight the microbial load!
Some of the bacteria we’re concerned about during processing can double every 20 minutes. That means in just 8 hours, a single cell could grow into over 1 million! Don’t believe it? Check out this blog post where we break down the math.
Using Deer Carcass Wash in the field can help slow the growth of mold, microbes, and fungus that can affect the quality of your meat. You can’t cook the “spoil” out of meat—even if it doesn’t make someone sick, it will taste terrible.
Spray Deer Carcass Wash on the entrance and exit wounds of your wild game and inside the cavity after field dressing to help preserve the meat’s quality.
#3 Use Sure Gel Meat Binder
When we smoke our sausage, the fat will start to melt before the proteins are fully cooked, no matter which cooking method we use. If the meat doesn’t have a strong bind, that fat can leak out—either onto the smoker floor or trapped between the meat and the casing—leaving you with a dry, crumbly, and flavorless sausage.
You can prevent this (or at least reduce the risk) by using Sure Gel Meat Binder, which helps keep the fat bound inside the meat. As an added bonus, Sure Gel also makes stuffing snack sticks much easier.
#2 Finish Sous Vide
If you’re struggling to get your meat product up to temperature, sous vide can save you hours and help prevent your product from drying out. When making summer sausage, we often smoke it to 130°F, then vacuum-seal it and finish it in a sous vide cooker set to 175°F.
Sous vide has become increasingly popular for this purpose because it can bring your sausage from 130°F to 160°F in about an hour, compared to the 4+ hours it would take using a traditional smoker.
Important: If your product contains encapsulated citric acid, you need to make sure the temperature rise from 130°F to the final cooking temperature takes at least one hour. This ensures that the encapsulation fully melts and the acid is properly released.
The #1 Rule for Wild Game cooking
Start low and slow! All Walton's smoke schedules start at 120°F or lower for good reasons:
- High initial heat - Starting at temperatures above 120°F causes the surface proteins to denature and contract rapidly, forming a tough layer, where heat and moisture struggle to get through.
- Moisture barrier - This layer traps moisture inside, preventing it from evaporating gradually. The result can be a soggy interior or unevenly cooked sausage.
- Protein shock - Rapid heating stresses the proteins, leading to undesirable textures and potential fat separation in sausages.
- Poor smoke adhesion: Smoke particles adhere best to a moist surface. A hardened, dry exterior repels smoke, reducing the smoky flavor critical for products like sausages, brisket, or ribs.
Benefits of Low-and-Slow Smoking
- Prevents Case Hardening:
- Gradual heating keeps the surface porous, allowing moisture to escape slowly and heat to penetrate evenly to the core.
- This ensures the sausage cooks uniformly, avoiding a tough outer layer.
- Minimizes Protein Shock:
- Slow temperature increases let proteins denature gently, preserving a smooth, consistent texture in sausages (especially important for emulsified products like hot dogs or bratwurst).
- Avoids fat rendering too quickly, which can break emulsions and cause greasy or crumbly textures.
- Enhances Smoke Adhesion:
- A moist surface at lower temperatures (120°F or below) attracts smoke particles, maximizing that smoky flavor.
- Gradual drying during the smoking process creates an ideal tacky surface (sometimes called the pellicle) for smoke to stick.
Typical Smoke Schedule to Avoid Case Hardening
A recommended smoking schedule for sausages or similar meats might look like this, though remember, it is going to change depending on the diameter of the sausage we are trying to cook:
- Stage 1 (Drying) - 100–120°F for 1–2 hours, no smoke, to dry the surface slightly and form the pellicle.
- Stage 2 (Smoking) - 120–140°F for 2–4 hours with smoke applied, gradually increasing heat to maintain moisture and allow smoke penetration.
- Stage 3 (Cooking) - Slowly ramp up to 160–180°F until the internal temperature reaches a safe level.
- Stage 4 (Cooling) - An ice bath or shower cycle to set the casing and begin cooling the cured sausage
Recent Posts
-

Nashville Hot Honey Snack Sticks and Jerky: Sweet, Spicy, and Tangy
Nashville hot chicken built its reputation on a flavor people can't stop talking about: sticky hone …25th Sep 2026 -
How to Make Restructured Jerky with the All Around Jerky Maker
If you're looking to create that classic, gas-station-style jerky at home, but with better control …17th Jul 2026 -
How To Use a Meat Grinder (Step-by-Step Guide + Pro Tips)
Grinding your own meat at home gives you complete control over freshness, fat content, and flavor. F …16th Jun 2026